Wednesday, September 28, 2011

Black Beans

We eat black beans like they are going out of style in this house.  So I thought why not see if I can take a few of my dried black beans and get them to grow.  So, I took a few dried beans out of the closet, soaked them overnight, and planted them in shallow egg crate planters.  The beans have been in the planters for 12 days now, germination is usually 10-14 days after planting.  My intention is to try to force grow the plants using a growing lamp this winter in a pot.  So far the beans have not yet germinated.

When growing black beans in the spring, you should sow the seeds into the ground directly after the danger of frost has passed.  This method is recommended over starting seeds inside, because black beans don't take well to being transplanted.  It is also recommended that you add inoculant, an additive that is commonly added to legume plants to make the plants stronger and increase yield.


So why are black beans so great?  Here are just a few reasons:

  • Studies have shown that women who eat beans or lentils twice a week are 25% less likely to develop breast cancer than women who just eat beans once a month.
  • Beans and lentils are high in folate, which is helpful in reducing birth defects in babys
  • There are a ton of different ways to prepare black beans (salsa, cooked, baked, etc.) and they're pretty much all easy to execute.
If in a few days my black beans still have not germinated, it'll be back to the drawing board.

Saturday, September 24, 2011

Recycled Planters

Starting plants from seed can be a small investment in some cases between seeds, soil and planters.  In the past each season we've bought planter starters which range between $20-35.00.  While this is not a monumental expense, you can save you cash and go green by using items which are commonly discarded in the trash and recycling as planters.  I got many suggestions on recycled planters from Self Sufficiency for the 21st Century and added a few of my own.  Here's a few suggestions of items you might not have thought to use as planters...
  • Paper towel & toilet paper tubes - once you've used up all the paper on the rolls, you can use the tubes to start seedlings.  When your seedlings are mature enough to transfer to their permanent home, you can plant the entire tube along with the seedling as the soil and water will decompose the cardboard into the soil.  Make sure to place on a surface that can get soil on it and can get wet.
  •  Pudding cups - These are great for planting with kids as you can see the root system develop through the sides of the cup and can see if the plant is dry and needs to be watered.  Yogurt cups will also work well.
  • Egg cartons - this is by far my favorite recycled planter as the cups are small and can be left connected.  Like the paper tubes be sure to place these planters on top of plastic, plate, or something that can handle becoming wet as the paper construction planters release some moisture.  
  • A suggestion from the Strawbridge Brothers, Authors of Self Sufficiency..., is to use old rain gutters.  They propose that these are ideal for pea plants.  
These planters will save you a few bucks and find new uses for trash.  The important thing to keep in mind is that no matter what you use to start you seeds in, make sure you use a high quality potting soil to start your seeds.  This ensures that your seeds start off with good nutrients to propose germination and growth.  I like to use Miracle-Gro Organic Choice Potting Mix to start my seeds.  It's widely available at hardware stores, Kmart, Target, Home Depot & Lowes.

Friday, September 16, 2011

Raspberries in Your Garden

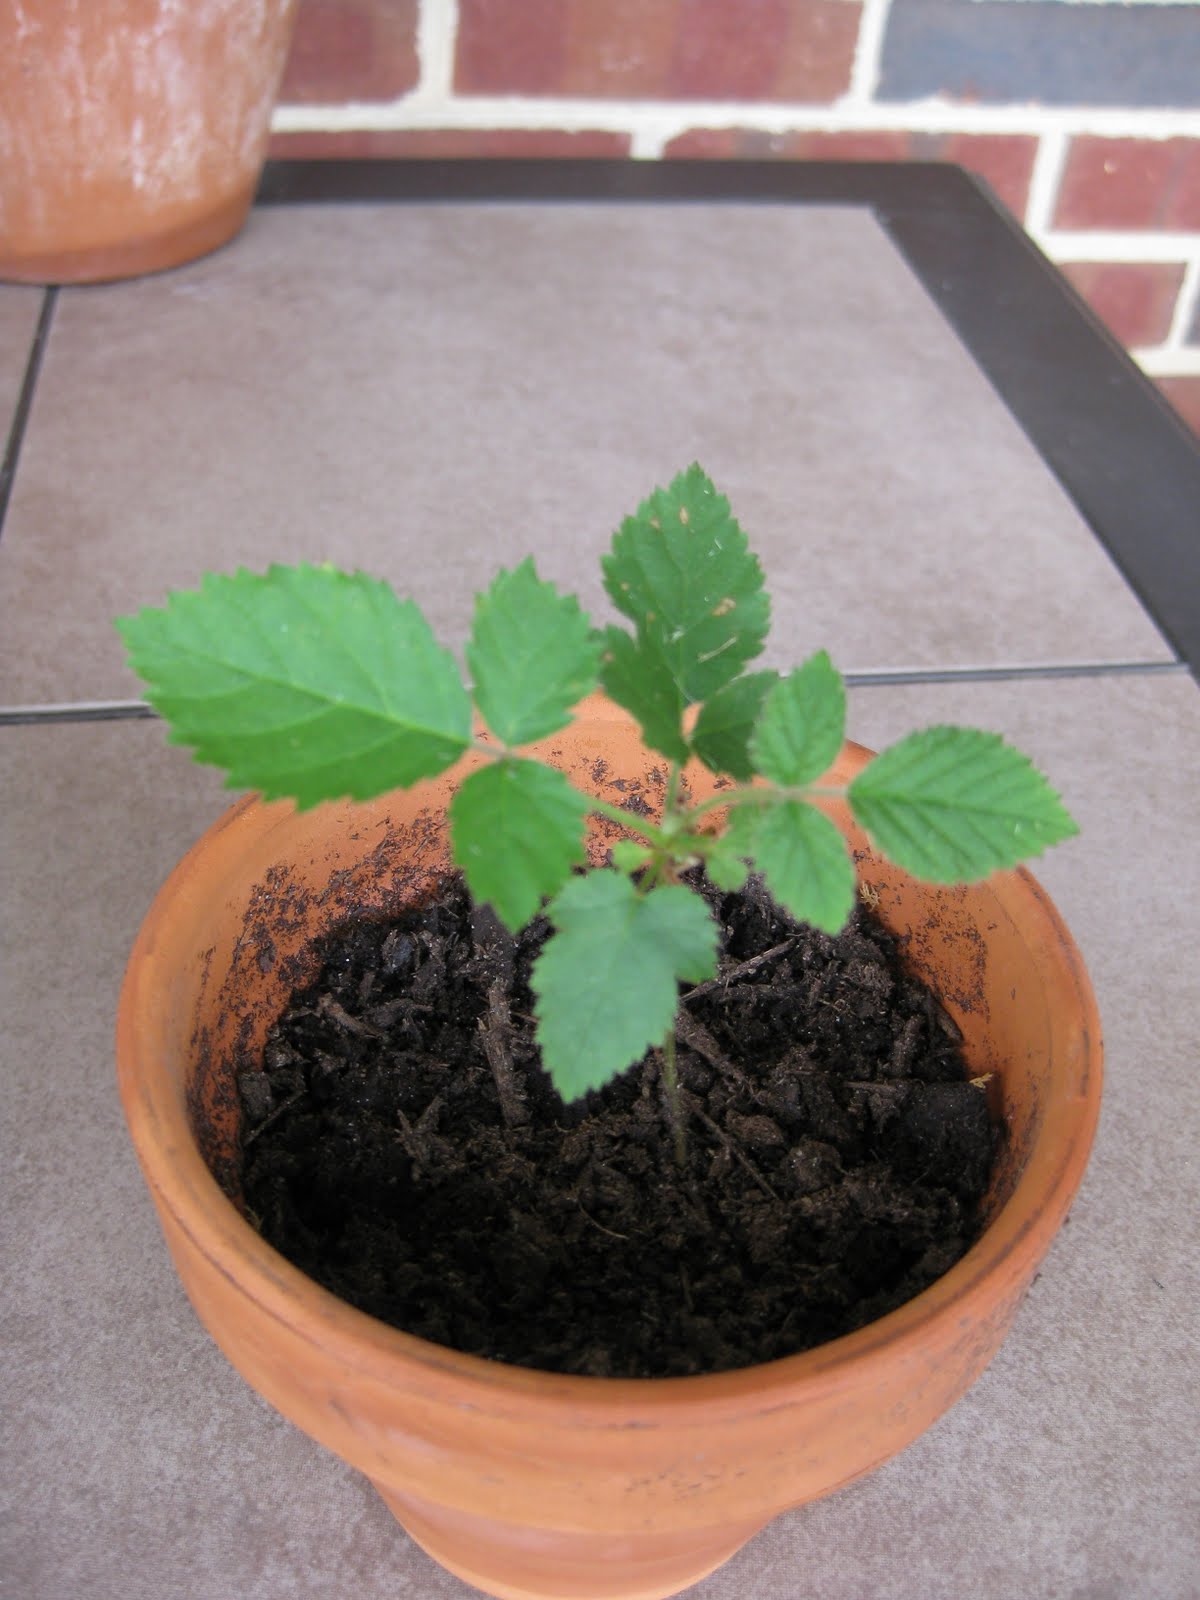
During one of my regular weeding sessions last summer,  I stumbled upon a small raspberry seedling under a bush in my backyard.  The northeast is a fairly hospitable climate for raspberries (and blackberries).  They grow naturally around most wooded areas, and are hardy enough for our unpredictable winters which could be way to much snow or way not enough snow (in my opinion).
Anyway I decided I'd dig up the seedling and see what it could turn into.  A year later our raspberry has gone from a 1 inch stalk to this:
The downside is that most raspberries don't produce fruit in their first year, mine included.  The upside, unlike some other berries, such as blueberries, raspberries do not need a male or female plant in order to produce fruit.  Horray!

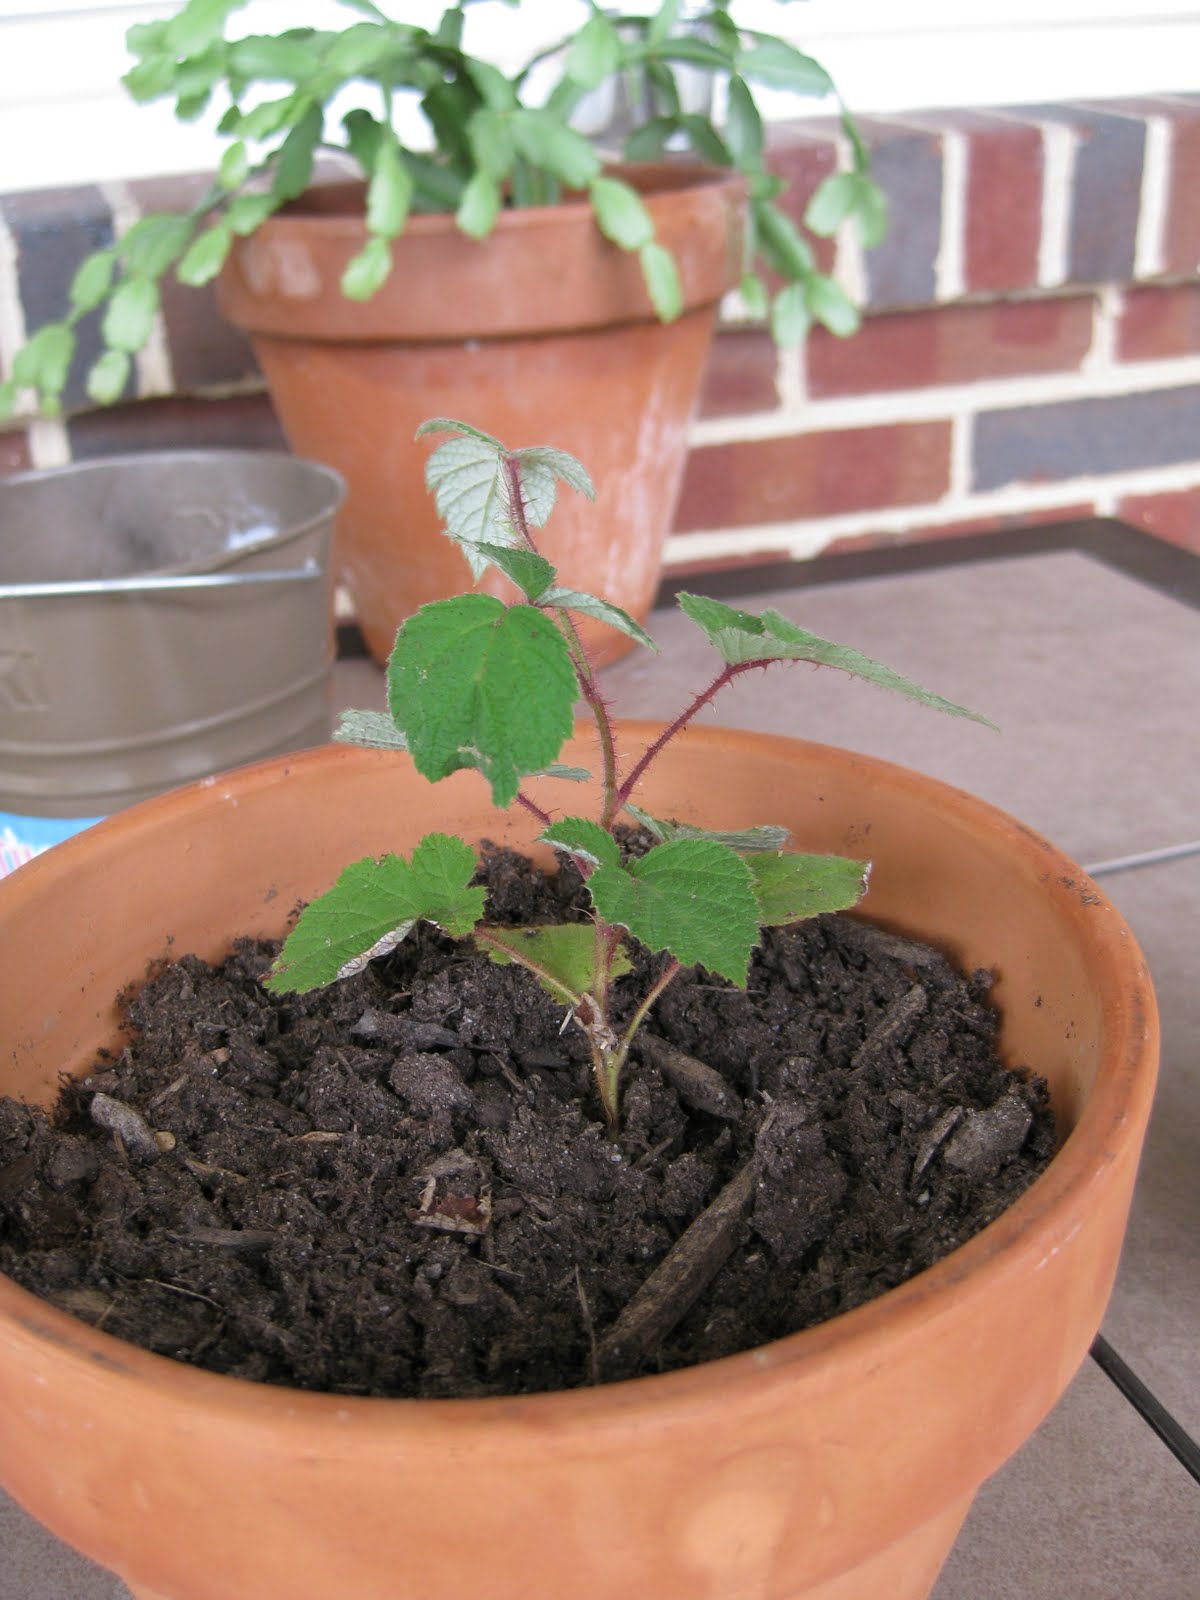
To add to the awesomeness, last week I discovered two small presents some birds dropped off in my yard:


On the left - a new raspberry, on the right - blackerry (I think).  I suspect that both these seedlings came from the neighbor's plants which have been established more than a year and have started producing fruit.   

If you're thinking about growing raspberries in your garden here are five key things to keep in mind:
  1. Raspberries don't need more than one plant to produce fruit, but in my opinion the more the better, while ours are potted currently we plan to plant both plants in a 2 ft x 2 ft raised bed.  The spacing suggestion for raspberries is 20 inches, but we are going to attempt a little less space.
  2. You should fertilize your raspberries twice a year, with 10-10-10, as the plant begins to bloom and after harvest.
  3. Raspberries can get lanky, they should be pruned, in early spring and after harvest for summer red raspberry varieties.  When pruning in the spring you should cut off weak canes (aka branches) & prune back long canes to 5 feet.  Pruning after harvest should be to remove the floricanes that produced fruits and leave the primocanes that will produce fruit the next year.  This site offers a good visual on the difference between these two types of canes.
  4. Raspberries need full sun (6+ hours a day), so be sure to plant them in a sunny spot.
  5. Birds love berries & will steal your berries before you know it.  So to ensure you get the eat the fruits of your labor, buy a few stakes and some garden netting.  This stuff works great and can be used year after year.


Saturday, September 10, 2011

Blackberry Seeds from the Grocery Store

I recently discovered a blackberry seedling in my yard and thought it would be nice to have at least two.  So I owned my fridge and did a little googling on how to get blackberry seeds from the fruit and prepare them to be planted.  In a few quick steps, I now have seeds to start inside this winter and extra seeds if I want to plant more in the future....

Items needed:
  • Small mesh strainer
  • Glass or pitcher of water
  • Container to dump water into
  • 2 Small bowls
  • Blackberry
  • Plastic wrap
  • Coffee filter

Extracting & Preparing the Seeds:
  1. First mash the blackberry in one of the two small bowls, allowing the seeds to become exposed.
  2. Place the mashed berry into the small strainer and run water over the seeds several times to begin the seed cleaning process.  I poured about 2-3 cups of water over them and pulled out some pulp.
  3. Once the seeds look pretty clean, place them into the other small bowl, pour some water on them and cover with plastic wrap and place in a warm & dry room.  You'll need to let the seeds soak for anywhere from 1-3 days, I soaked mine for 2 days.
  4. After your 1-3 days remove the seeds from the bowl and place on a dry coffee filter.  Allow the seeds to dry out for a day or two on the coffee filter, turning them over after the first 12-24 hours.
  5. Once the seeds are dried out, put them in an envelop or plastic bag in a dry spot until you're ready to plant.  Remember to label the container with the name of the fruit & include the date when you began to store the seeds. 

    Monday, September 5, 2011

    Extracting Basil Seeds

    Our basil was out of control this first year:

    Needless to say keeping up with the flowers was not as easy as I thought it would be.  When basil flowers it produces little white flowers and seeds, hence the term "going to seed" when the plant flowers and seeds result.  Why would you want to keep a plant from going to seed?  Well, to make those pretty little white flowers the plant uses a lot of it's energy and thus is not focusing on the leaves while it's flowering.  By cutting off buds you divert the energy from producing flowers to producing leaves.  Despite my best efforts I could not keep the basil from going to seed completely and ended up with some seed pods.  Collecting these seeds for use in the future is fairly simple:
    1. Seeds are not ready to be pulled from the plant until the pods have turned from bright green to brown.
    2. Once you've removed the brown pods from the basil plant, carefully open the pods and extract the seeds, since the pods have already begun to dry out, the seeds should be black.  
    3. Place the seeds into a dry container in a dry location for a day.
    4. Take the dried seeds and place them into a sealed envelop.  Be sure to remember to label the envelop with the date you extracted the seeds, and of course what the seeds are.
    5. Seeds will be ready for use the next planting cycle.
    While I chose to extract my seeds from brown pods attached to living plants, Homestead Roots, offers a good visual guide to walk you through the seed extraction process when you've cut pieces of the plant off to dry and then extract seeds.

    View larger scale basil extraction photos.

    Sunday, September 4, 2011

    Seeds

    Everything has to start somewhere. This blog is devoted to the seeds which grow from great ideas, books, Google, and spur of the moment experimentation.

    In March of 2011, we set out to create a garden in our suburban backyard, which provides us with organic vegetables throughout the year.  

    Year one has been a true learning experience...